Tutorials
⚡ Disable These 7 Windows Background Services and Your Computer Will Take Off Instantly! Say Goodbye to Lag
Complete guide to safely disable unnecessary Windows background services for instant performance improvement
Why Your Computer is Getting Slower
Is your computer getting slower and slower over time? Slow boot, fans spinning wildly, high resource usage even when you're not doing anything? In many cases, it's not that hardware is inadequate, but rather that Windows is secretly running a bunch of services you don't need in the background.
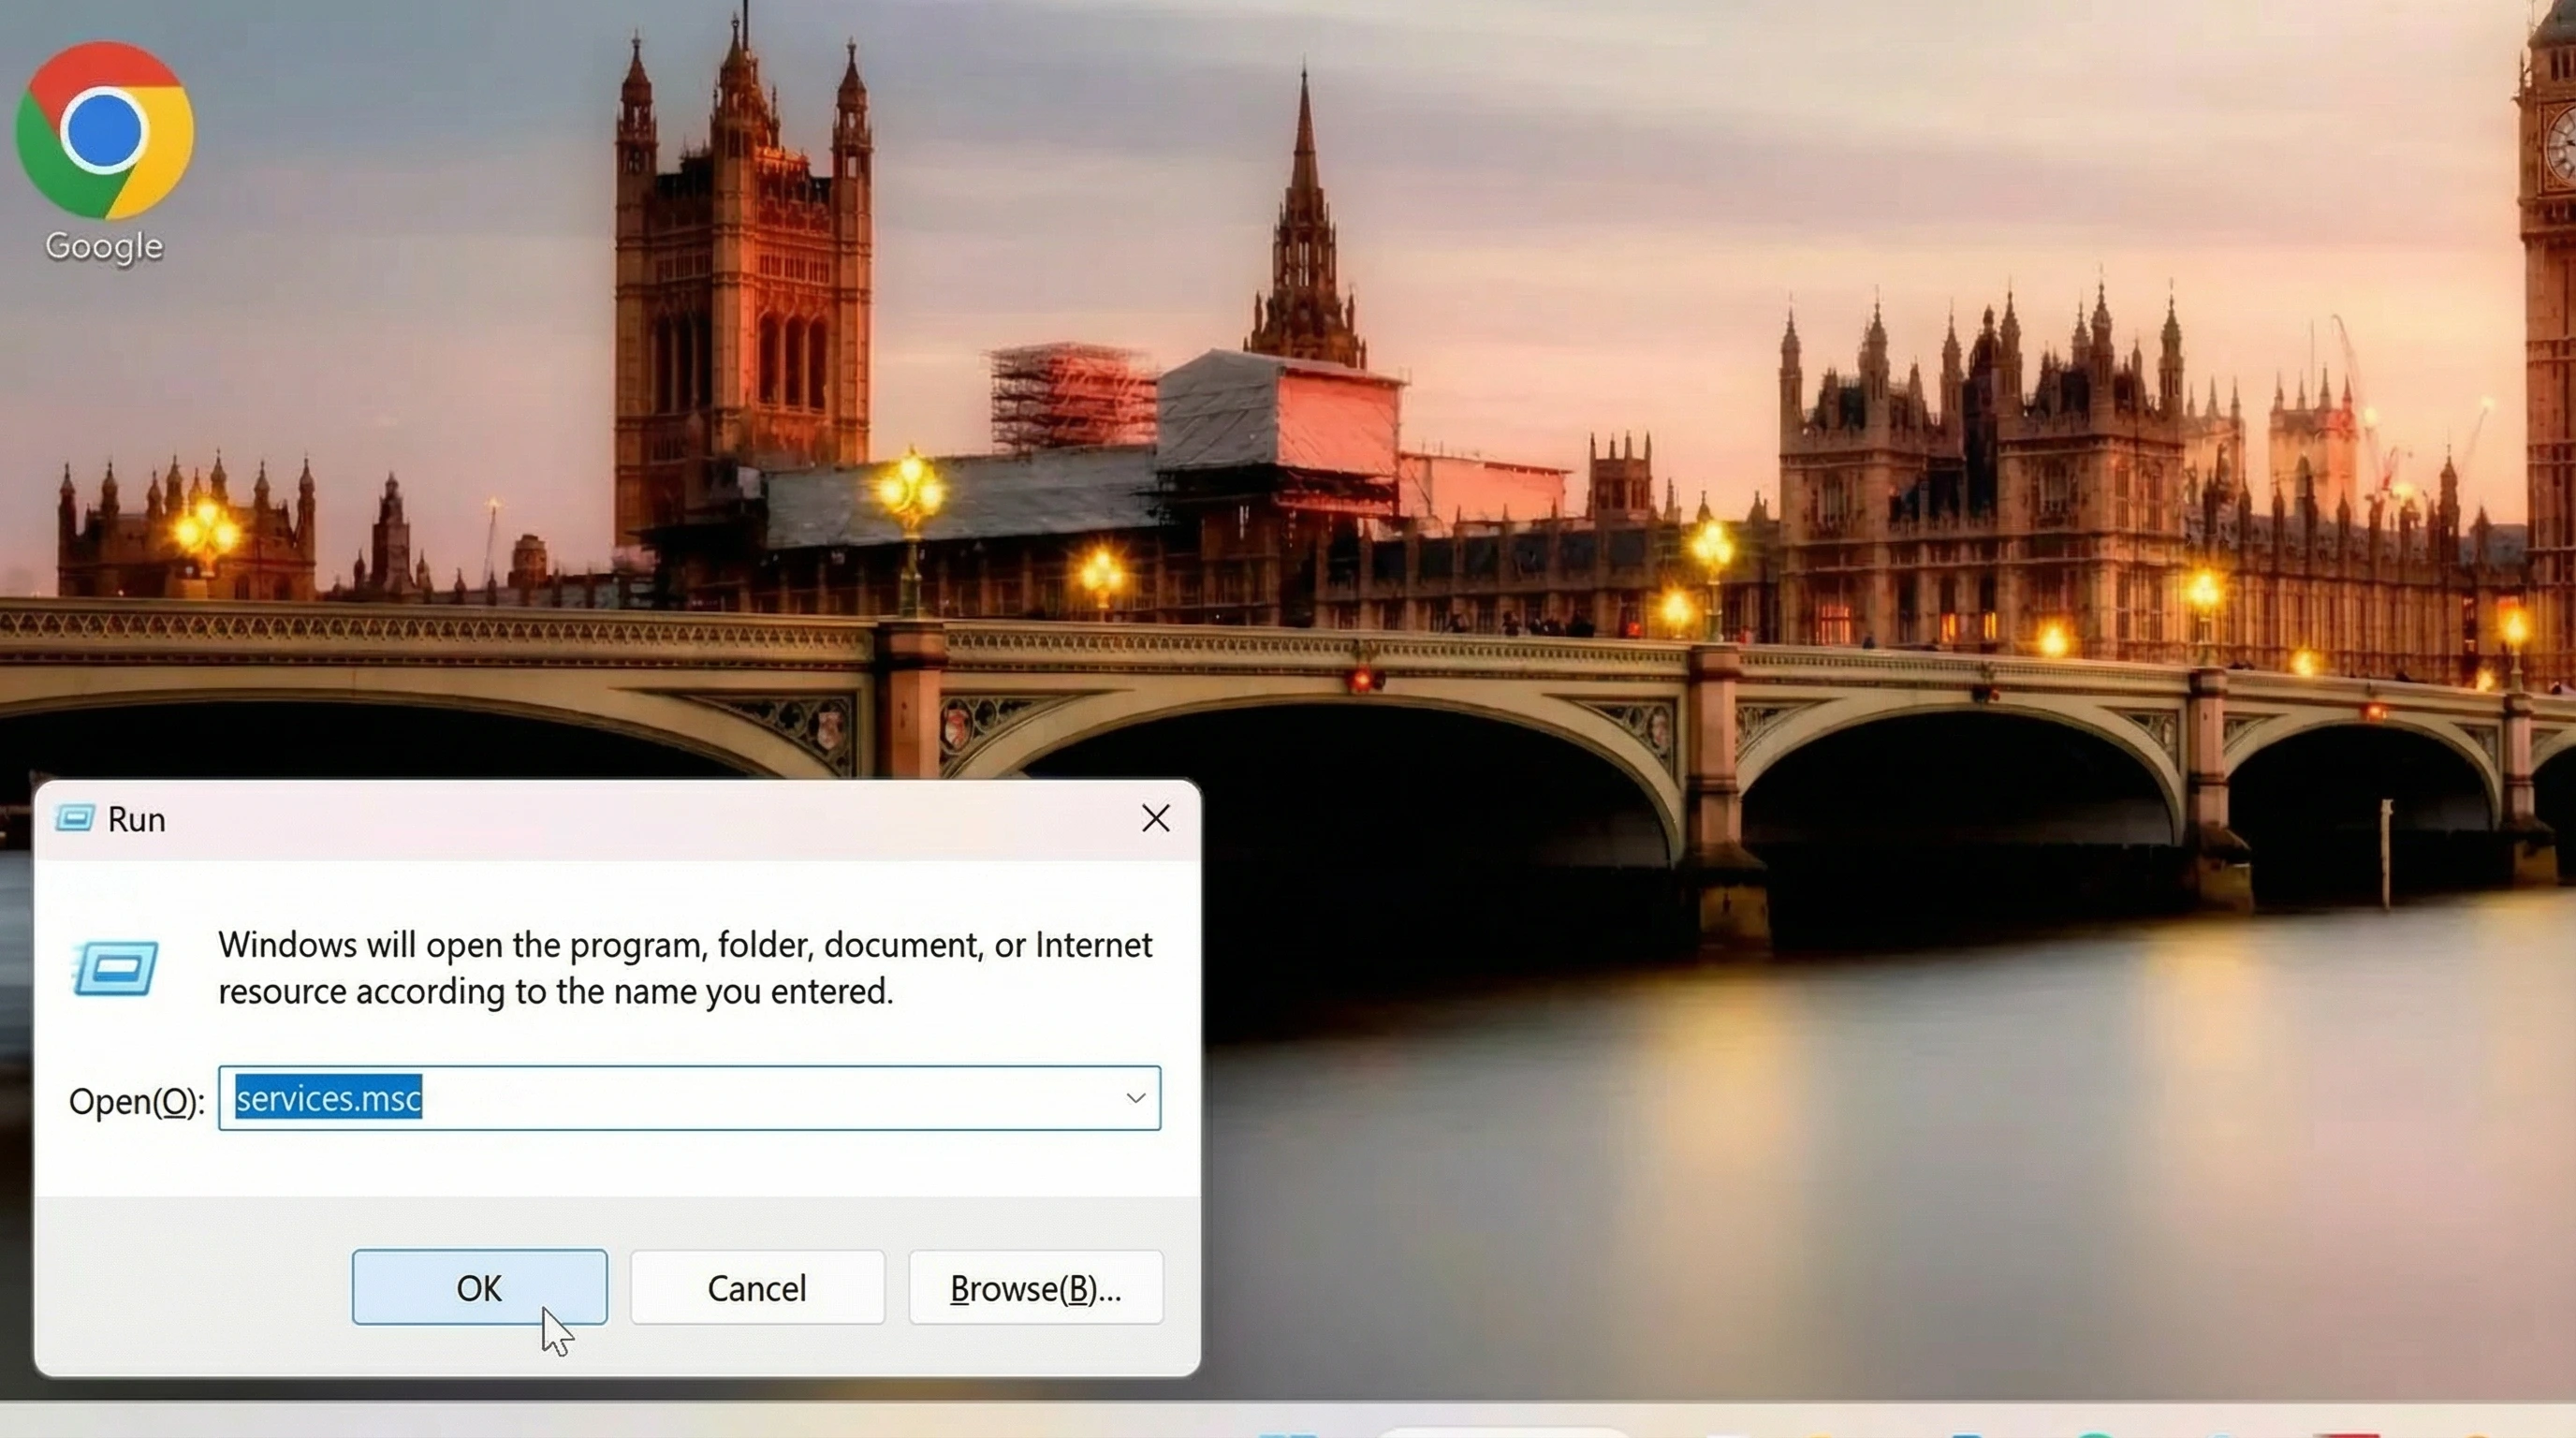
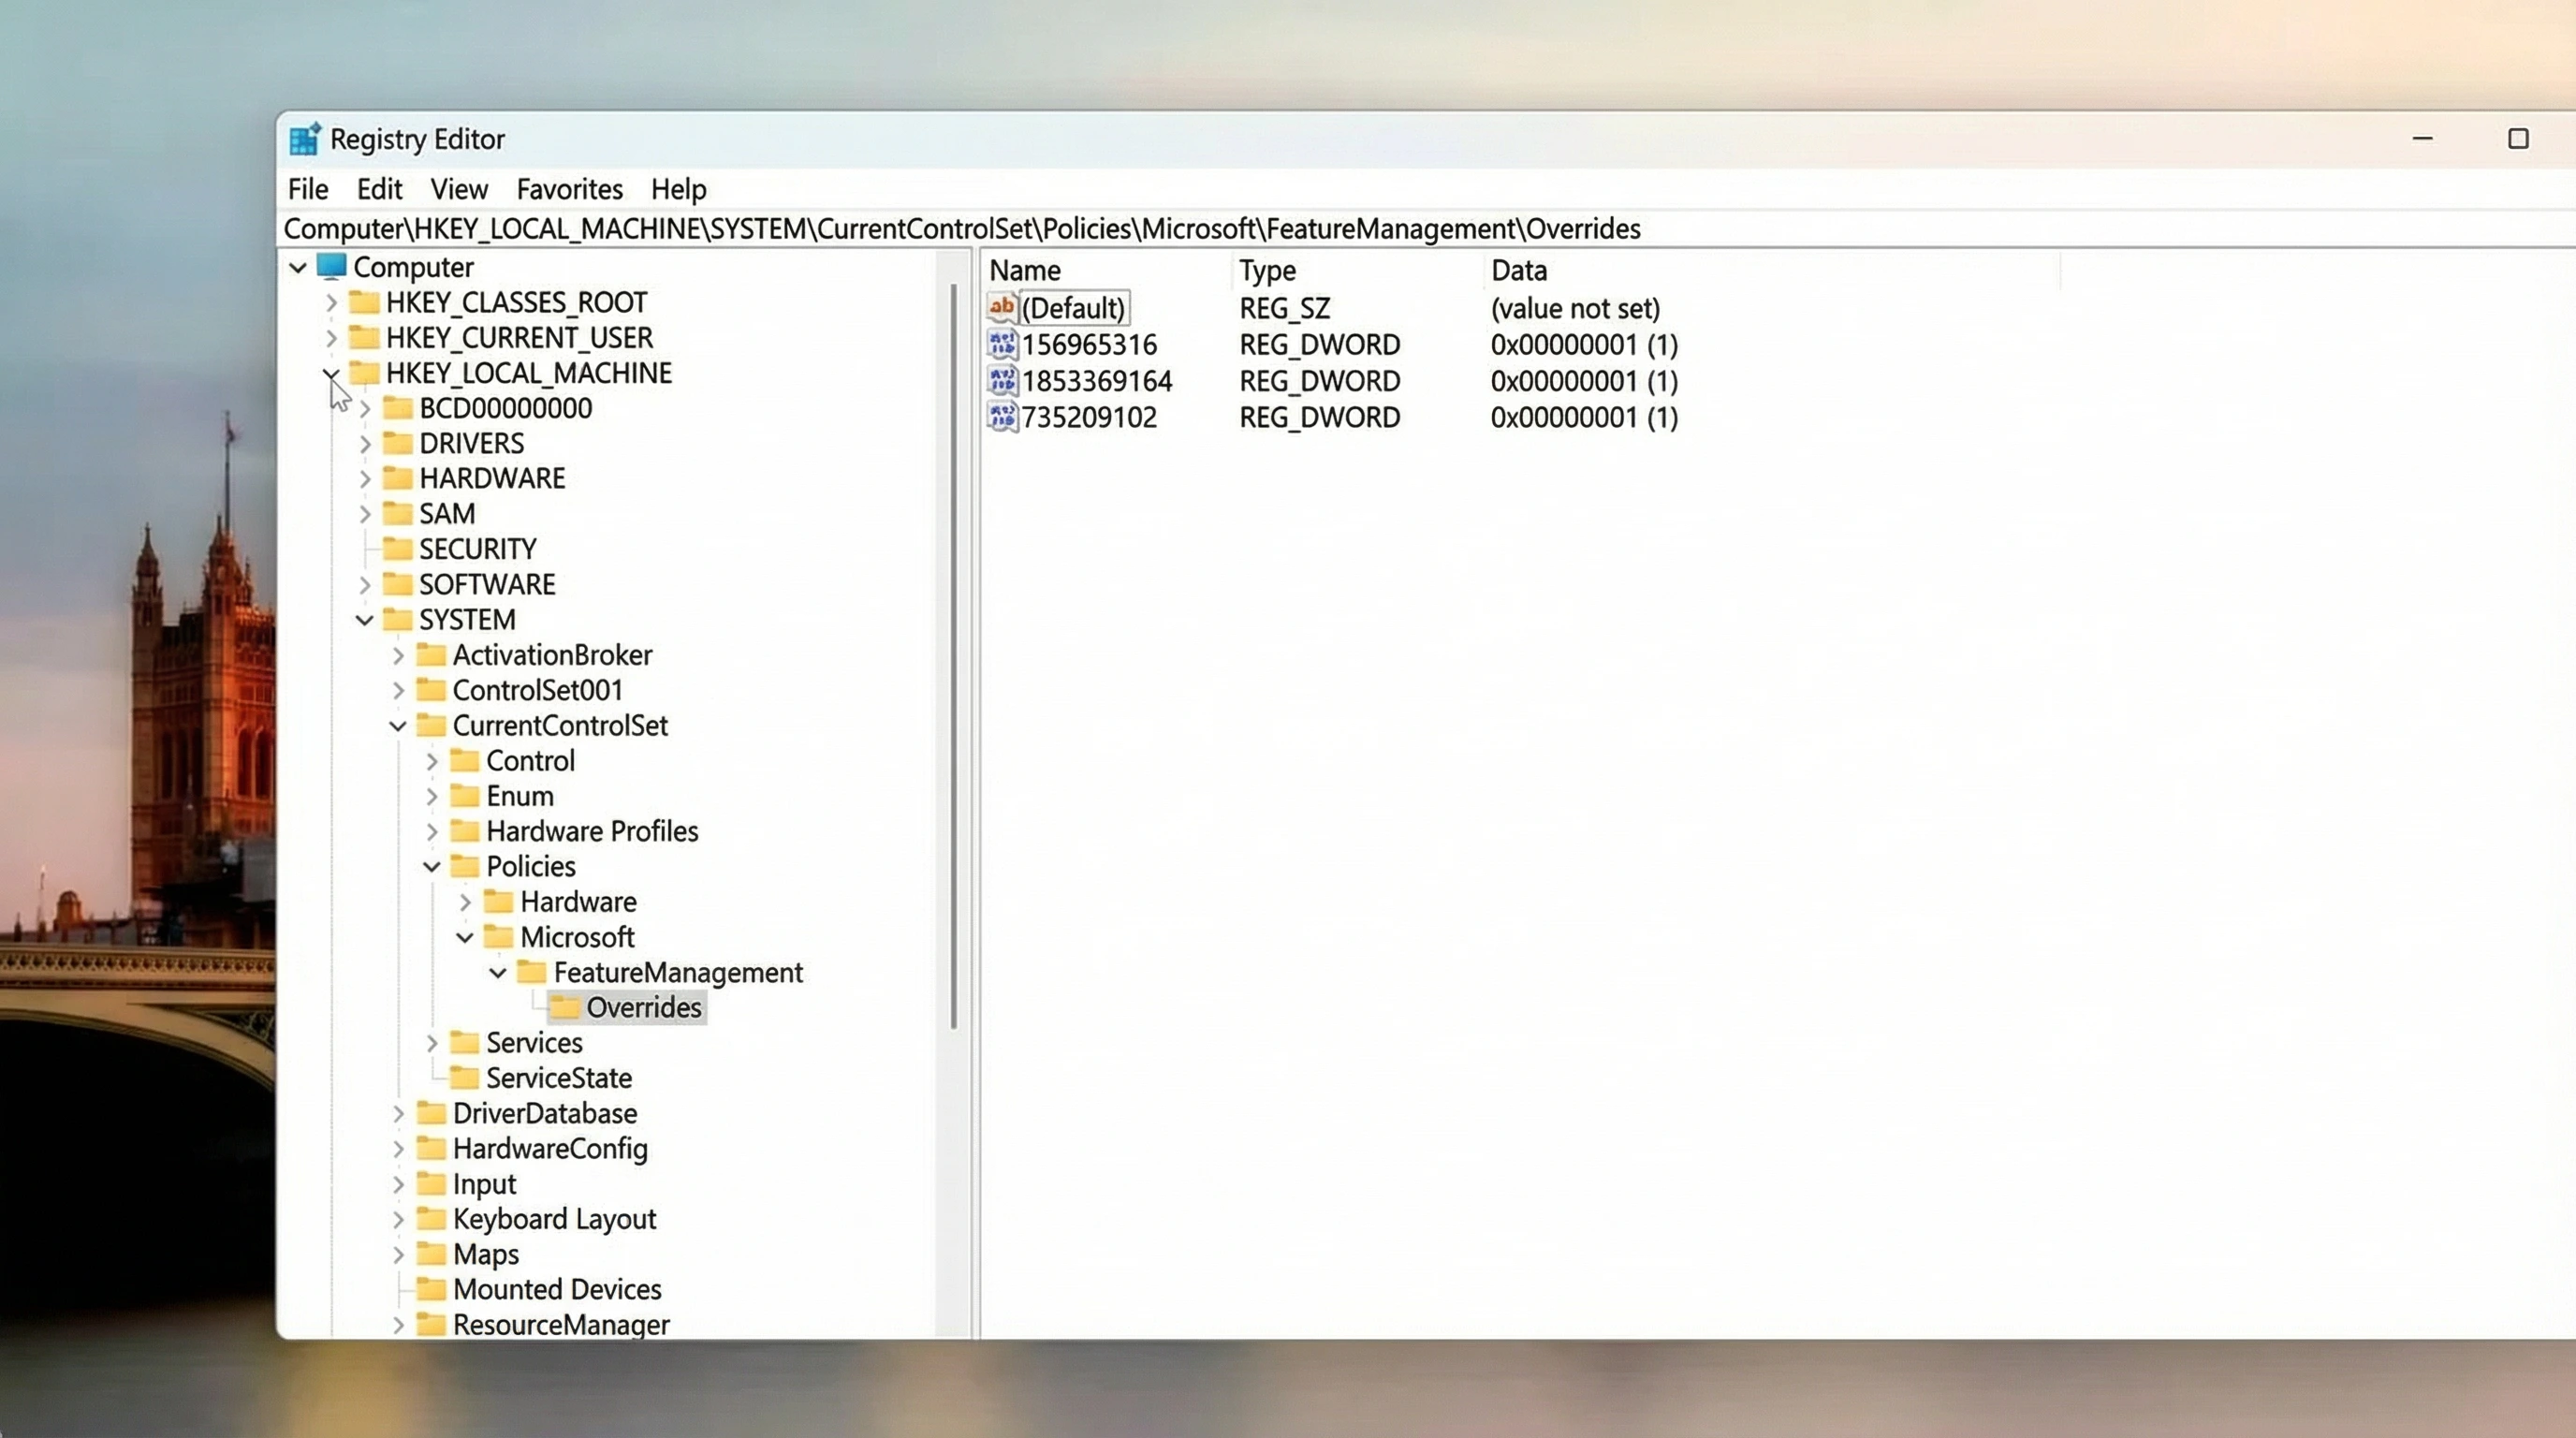
🔧 How to Access Services Management
Before we begin, we need to access Services Management. Use shortcut Win+R to open command prompt and type command services.msc.
🚫 7 Windows Background Services to Disable
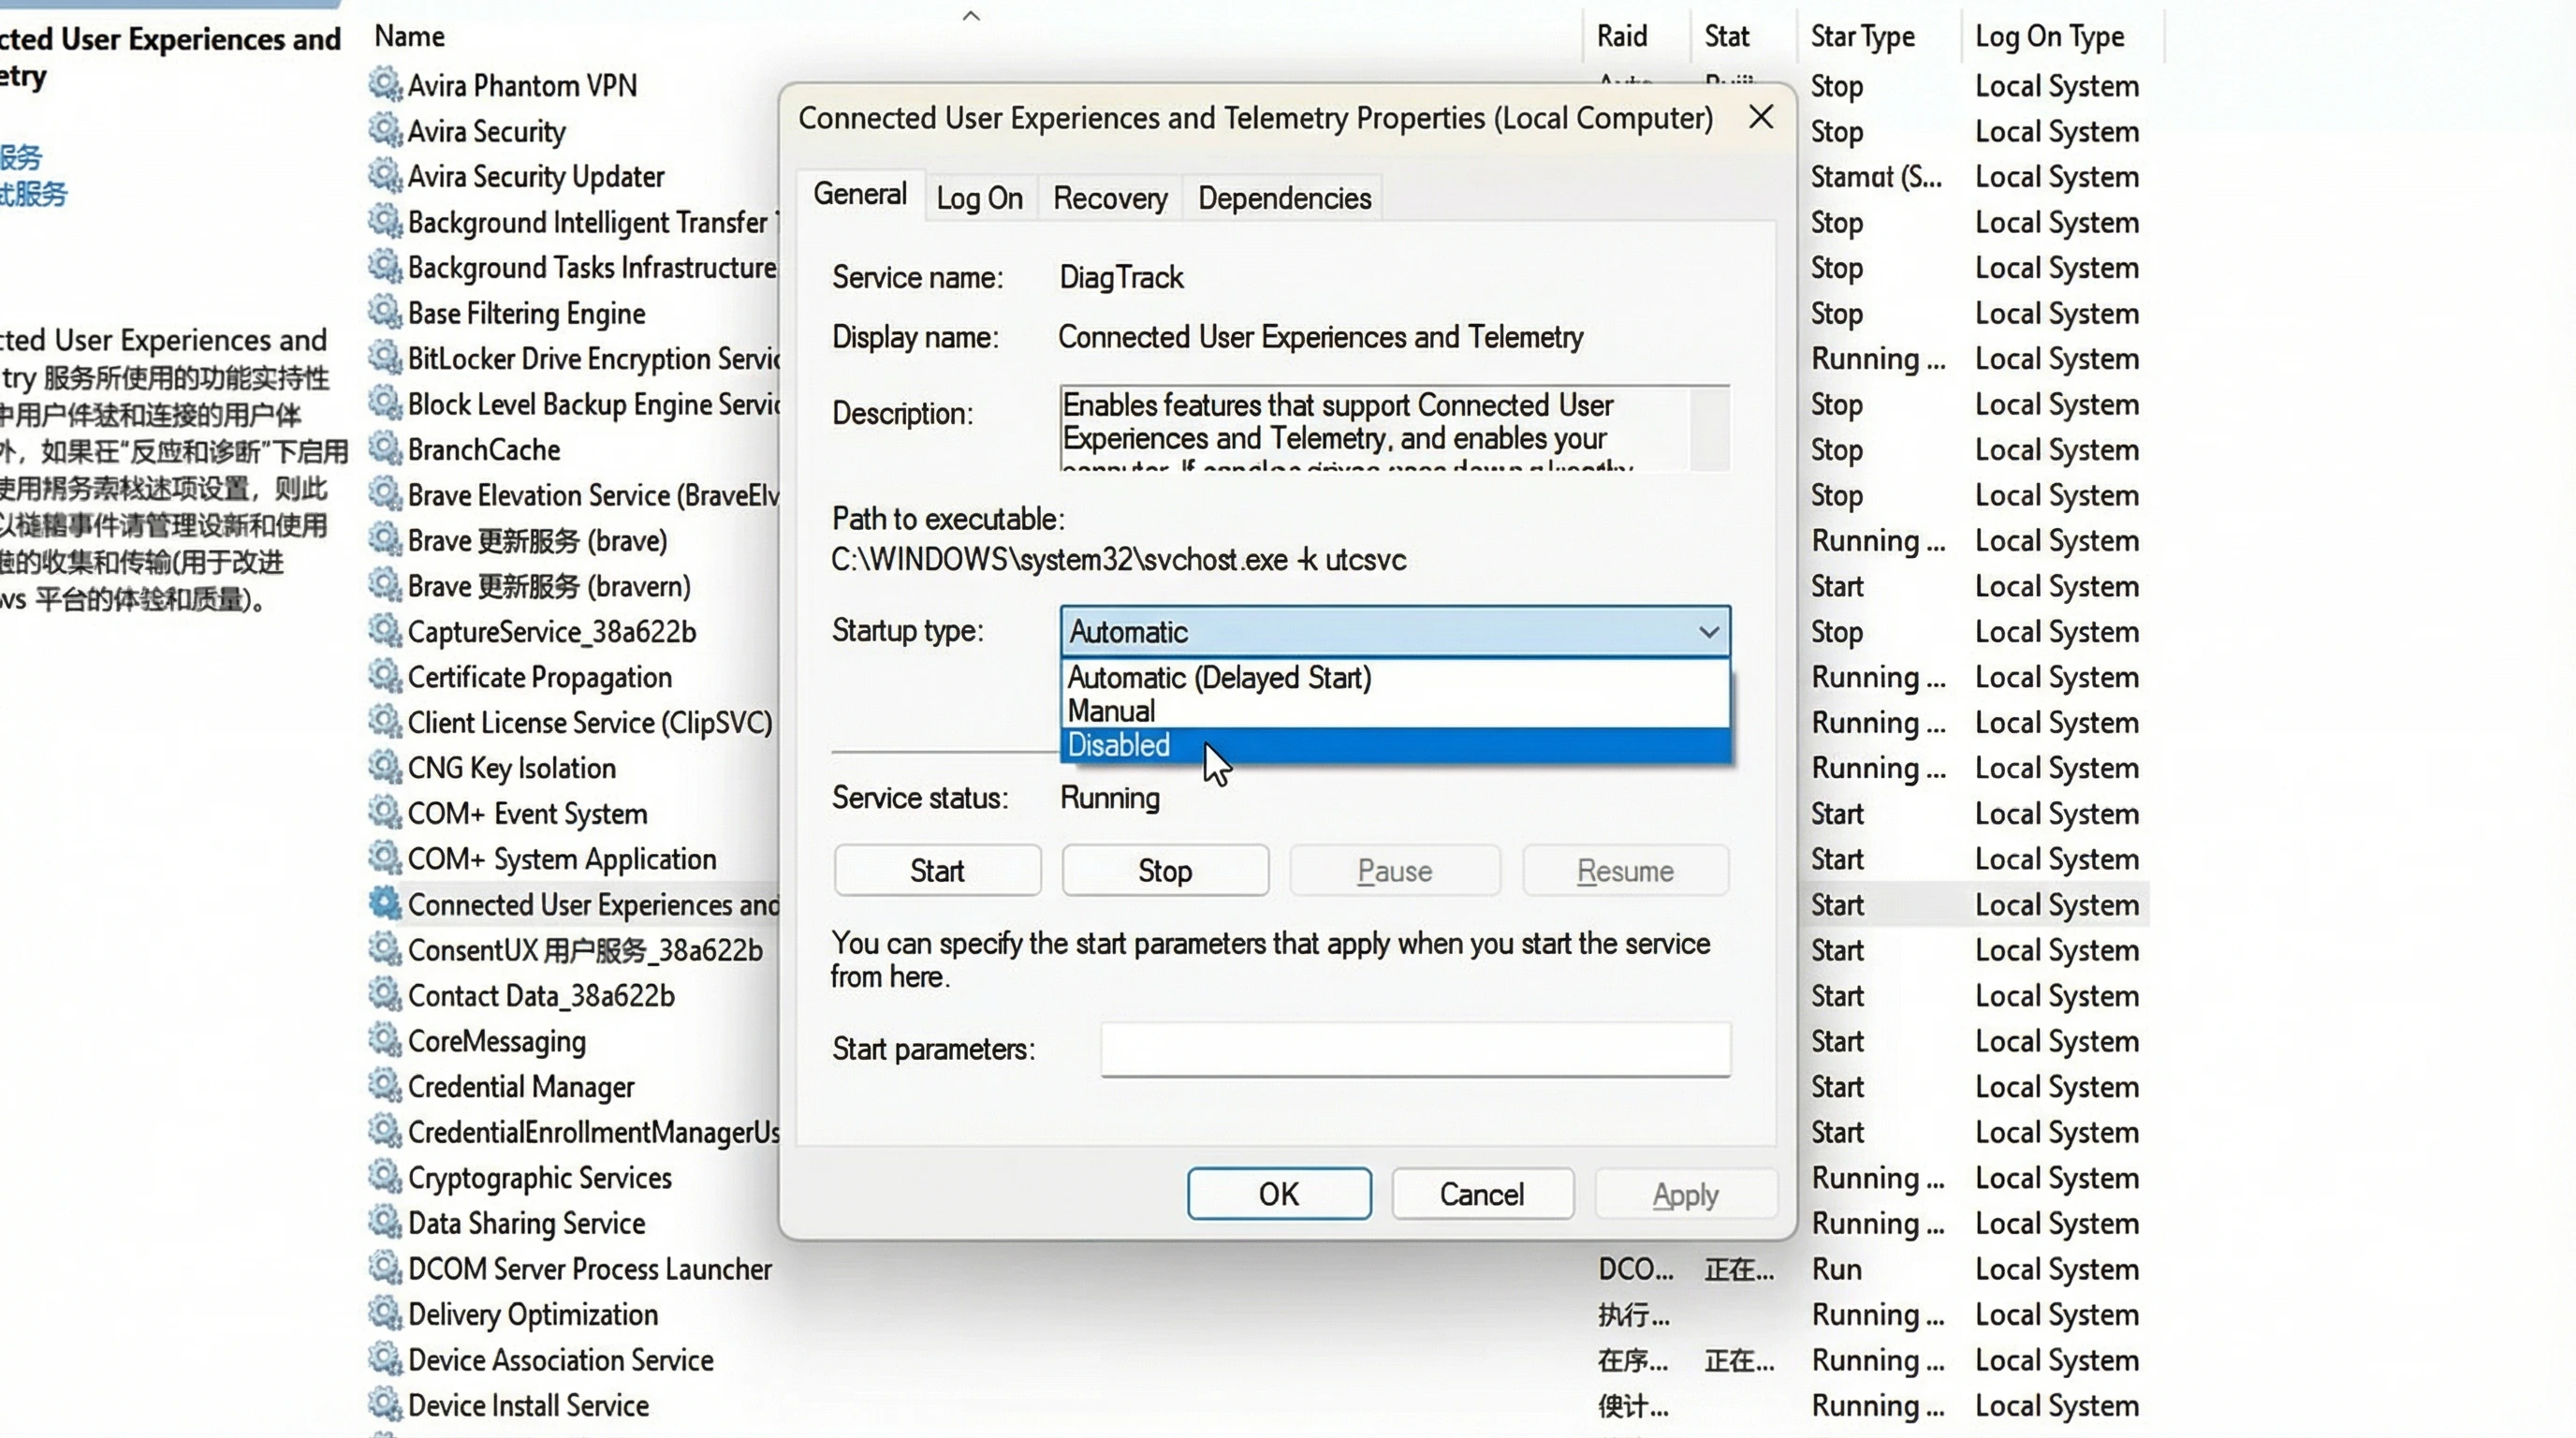
1. Connected User Experiences and Telemetry
Function: This service collects and sends your computer's usage and diagnostic data to Microsoft to improve Windows user experience.
Why disable it: Disabling this service reduces background CPU and network resource consumption and enhances personal privacy by preventing collection of your usage data.
Potential impact: Disabling it may affect some functions that rely on telemetry data, such as automatic updates and feedback functions, but it will have little impact on daily use of most users.
2. Windows Search
Function: Provides content indexing, attribute caching, and search results for files, emails, and other content.
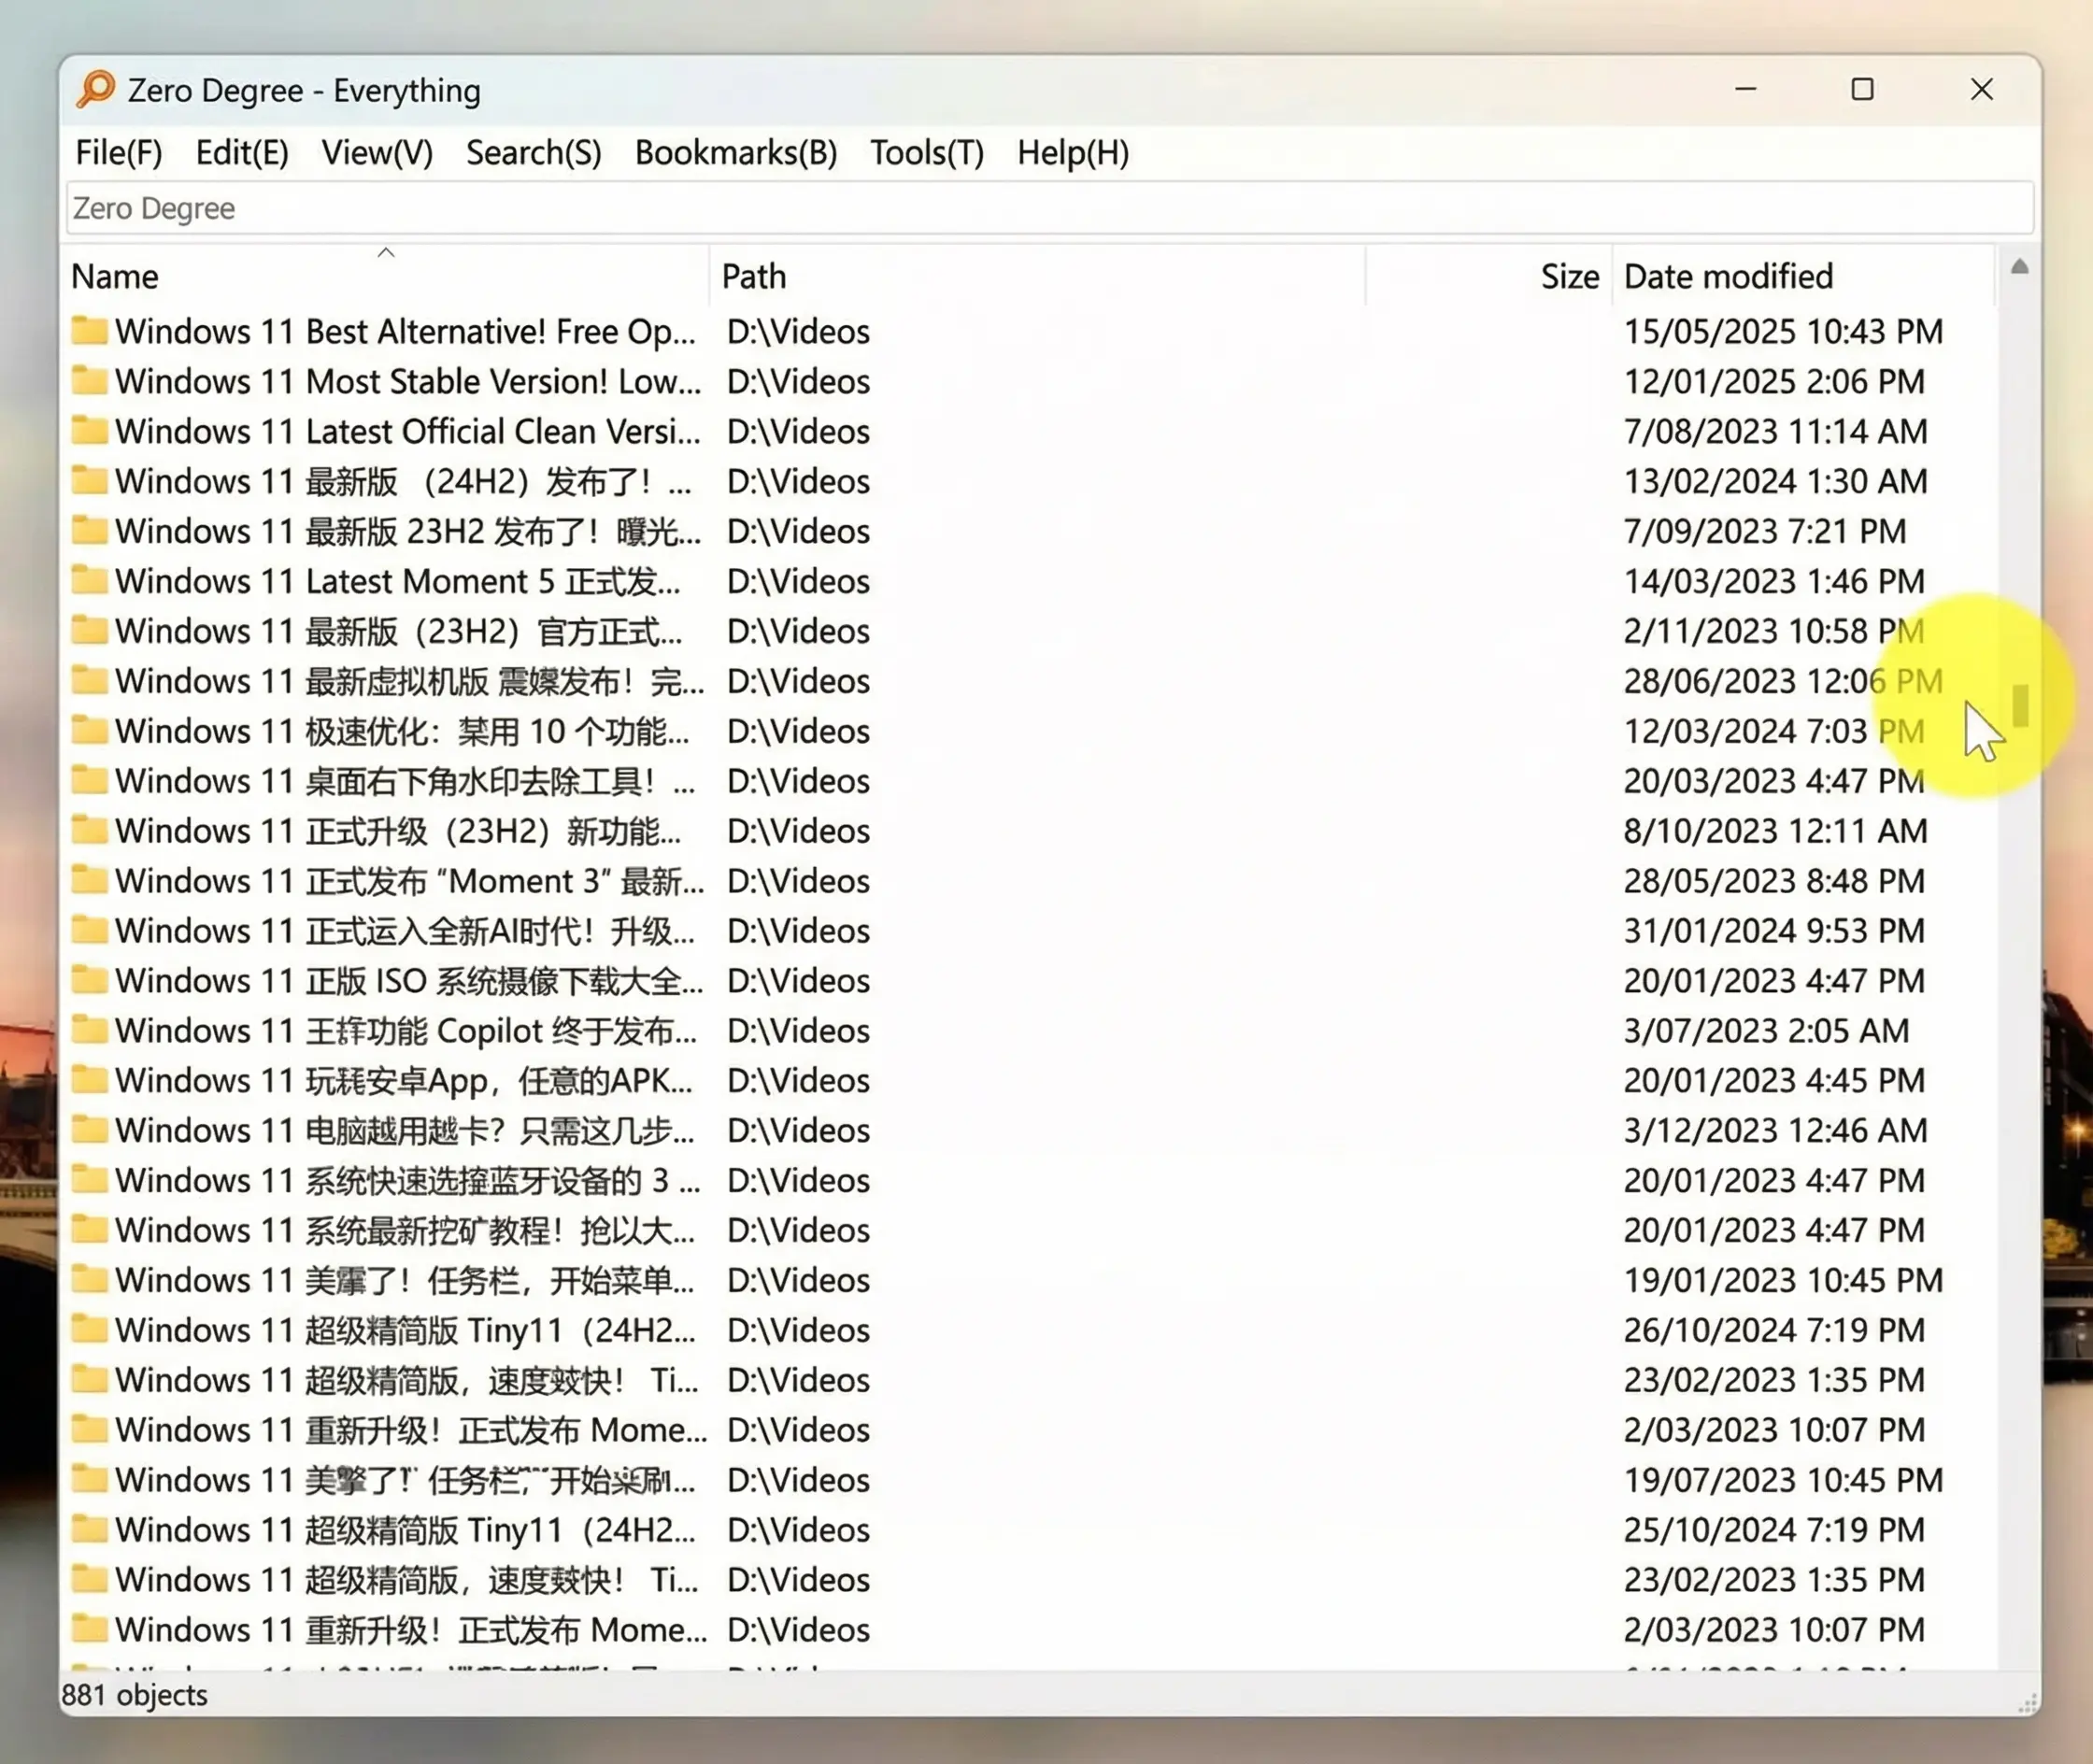
Why disable it: While it facilitates file searching, Windows Search service continuously builds file indexes in background, consuming significant CPU and disk resources, especially when dealing with a large number of files. For users who don't frequently use system search function or use third-party search tools (such as Everything), it's advisable to disable it.
Potential impact: Disabling it will slow down speed of finding files, applications, and settings using Windows built-in search box.
Alternative: Of course, we can use a third-party search tool like Everything to replace Windows built-in search function. The effect is overwhelmingly superior, far surpassing the system's built-in search service in both search speed and efficiency. And it's completely free!
3. SysMain (formerly Superfetch)
Function: By analyzing user's memory usage patterns, it preloads frequently used applications into memory, thereby speeding up program startup.
Why disable it: For users using solid-state drives (SSDs), performance improvement brought by SysMain is limited due to extremely fast read and write speeds of SSDs. In fact, it may increase disk load due to continuous background read and write operations.
Potential impact: Disabling it may slightly decrease initial startup speed of some infrequently used applications.
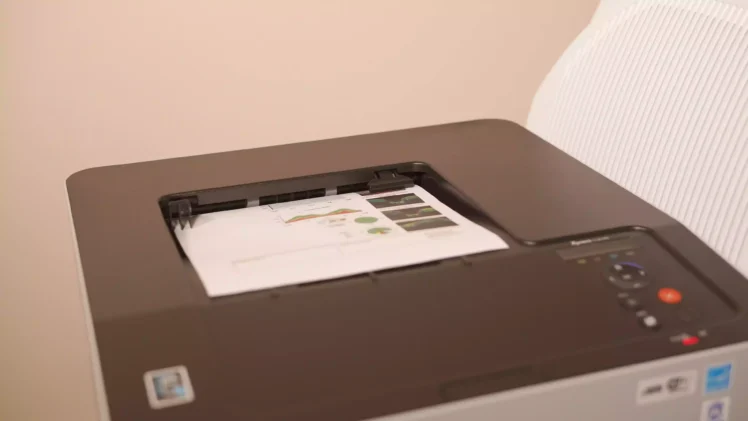
4. Print Spooler
Function: Manages all local and network print queues and controls all print jobs.
Why disable it: If you don't use a printer, or only use it occasionally, this service running continuously in background will consume a small amount of system resources. Disabling it when printing is not needed will free up these resources.
Potential impact: Disabling it will prevent printing operations. If you need to use a printer, you need to re-enable the service.
5. Windows Biometric Service
Function: Provides applications with the ability to capture, compare, process, and store biometric data, supporting functions such as fingerprint recognition and facial recognition.
Why disable it: If your computer does not have a fingerprint reader or infrared camera, or if you do not use features such as Windows Hello, it is safe to disable this service to save resources.
Potential impact: After disabling it, all biometric-related functions (such as fingerprint login) will be unavailable.

6. Remote Registry
Function: Allows remote users to modify registry settings on this computer.
Why disable it: For most home users, remote registry modification is almost unnecessary. Disabling this service can improve system security and prevent potential malicious attacks.
7. Program Compatibility Assistant Service
Function: Provides support for application compatibility assistant, monitors programs installed and run by user, and detects known compatibility issues.
Why disable it: This function sometimes misidentifies programs without compatibility issues as problematic, frequently popping up prompts and affecting user experience. Experienced users can identify and handle program compatibility issues themselves, so this service can be disabled.
Potential impact: After disabling it, the system will no longer automatically prompt for program compatibility issues, requiring users to manually set compatibility mode to run some older applications.

🛠️ How to Disable These Services
Step-by-Step Disabling Process
- Press Win + R to open "Run" dialog box.
- Type
services.mscand press Enter to open "Services" window. - Locate the service listed above in the service list and double-click to open its properties.
- Change "Startup type" to "Disabled," then click "Stop" button, and finally click "Apply" and "OK."
Important Note
Before disabling any system service, it is recommended that you understand its specific functions and make a judgment based on your actual usage. If system instability or other problems occur after disabling a service, you can restore the previous operation.
Expected Performance Improvements
- Faster Boot Time: Reduced background services lead to quicker system startup
- Lower CPU Usage: Less background processing means more resources for your applications
- Reduced Memory Usage: Freeing up RAM for active applications
- Better Responsiveness: System feels more responsive and snappy
- Enhanced Privacy: Less data collection and telemetry
🔒 How to Protect Your Privacy During Phone Repairs - Repair Mode Guide
Complete guide to activate Repair Mode/Maintenance Mode to protect your photos, data, and privacy when sending your phone for repairs
Video Tutorial 1
Video Tutorial 2
Why You Need Repair Mode
Many smartphone users are worried about having to leave their devices in shop for repair purposes, especially involving the risk of privacy invasion such as photos and WhatsApp messages being accessed without permission. Repair Mode/Maintenance Mode helps protect your privacy by making your phone function as if it were a new device.
🔧 What is Repair Mode?
When Repair Mode or Maintenance Mode is activated, your phone will function as if it were a new device without you worrying if it is opened by a third party.
- All photos are hidden and inaccessible
- Personal applications are hidden
- Email accounts are hidden
- Owner data is hidden
All your data will only reappear after the mode is deactivated by the phone owner.
📱 How to Activate Repair Mode by Phone Brand
📱 Samsung
- Open Settings
- Select Battery and Device Care
- Press Maintenance Mode
- Select Turn On
- The phone will restart automatically
📱 Xiaomi / Redmi / POCO
- Open Settings
- Select Privacy & security
- Find and activate Repair Mode
📱 OPPO / Realme / Vivo
- Enter Settings
- Select Privacy or Security
- Find Repair Mode / Maintenance Mode and activate if available
📱 iPhone (Apple)
Important: Apple does not provide this function.
- Make an iCloud backup
- Log out of Apple ID
- Erase content (Erase All Content & Settings) before sending for repair
🆘 Special Situations & Solutions
🖱️ Damaged Screen (No Touch Function)
If your phone screen is damaged to the point of losing touch function:
- Use a USB adapter
- Connect it to a mouse
- Control the device using the mouse
📺 Display Problems
If the problem involves the display:
- Use an HDMI adapter
- Connect to a monitor or television
- Note: Not all phones have this advantage
Important Security Tips Before Repair
- Activate screen lock - Always ensure your phone has a secure lock screen
- Don't reveal password - Never share your password with anyone
- Backup important data - Always backup your important data before handing over your phone
- Remove SIM card - Take out your SIM card if possible
- Remove memory card - Take out your SD card if you have one
Benefits of Using Repair Mode
- Peace of mind - Users can feel confident about their privacy
- Prevents hacking - Reduces risk of phone being excessively hacked by third parties
- Data protection - All personal information remains hidden
- Easy activation - Simple process to enable and disable
🎯 Final Note
This simple step not only protects personal data, but also helps users feel more confident and calm when sending their phones to service centers. There are dishonest individuals who invade the privacy of phone owners during repairs, so taking these precautions is essential.
✅ How to Register for MyDigitalID (Step-by-Step Guide)
Complete guide to register and verify your MyDigitalID for Malaysian government services
Download MyDigitalID App
What You Need Before You Start
- A smartphone (Android or iPhone)
- Your MyKad (Malaysian IC)
- A valid email address
- A stable internet connection
- Good lighting for face verification
Step-by-Step Registration Guide
Step 1: Download the MyDigitalID App
- Open Google Play Store (Android) or Apple App Store (iPhone)
- Search for "MyDigital ID"
- Download and install the official app
Step 2: Open the App and Choose Registration
- Open the MyDigitalID app
- Select "Register" or "Register Online"
- Read the terms and conditions, then tap Agree
Steps 3-4: Email & Personal Information
Step 3: Email Verification
- Enter your email address
- Tap Next
- Check your email for a One-Time Password (OTP)
- Enter the OTP to verify your email
Step 4: Enter Personal Information
- Enter your full name (as per MyKad)
- Enter your MyKad / IC number
- Confirm the details are correct
Steps 5-6: Document & Biometric Verification
Step 5: MyKad Verification
- Use your phone camera to scan your MyKad
- Scan both front and back if required
- Ensure the image is clear and not blurred
- Follow the on-screen instructions
Step 6: Face Verification (Liveness Check)
- Position your face within the camera frame
- Follow instructions such as:
- Blink your eyes
- Turn your head left or right
- Look straight at the camera
- Ensure good lighting and remove glasses or face coverings
Steps 7-10: Finalize Registration
Step 7: Create a Password
- Create a strong password (follow the security rules shown)
- Confirm the password
- Do not share your password with anyone
Step 8: Registration Submission
- Review all your information
- Tap Submit
- Your registration will be sent for verification
Step 9: Verification and Approval
- Verification may take a few minutes to several hours
- You will receive a notification once approved
- Your MyDigitalID is now active
Step 10: Use MyDigitalID to Log In
You can now use MyDigitalID to log in to supported government apps and services such as:
- MyJPJ
- MySejahtera
- MyGov portal
- MyTax (LHDN)
- Other government services (added gradually)
Important Security Tips
- Never share your OTP or password with anyone
- Use biometric login if available for added security
- Only download the app from official app stores
- Beware of phishing scams pretending to be MyDigitalID
- Regularly update the app to the latest version
One-Sentence Summary
MyDigitalID allows you to securely access multiple Malaysian government services using a single digital identity, eliminating the need for multiple usernames and passwords.
✅ How to Install Windows 11 Using a USB Drive
Complete step-by-step guide for installing Windows 11 from a USB flash drive
What You'll Need
- A USB flash drive (16GB or larger)
- A PC or laptop where you want to install Windows 11
- An internet connection
- A backup of your important data (installation may erase your drive)
METHOD 1: Install Windows 11 Using Rufus (Recommended for Beginners)
Step 1: Download Windows 11 ISO
- Go to official Microsoft website.
- Scroll to "Download Windows 11 Disk Image (ISO)".
- Select Windows 11 (multi-edition ISO).
- Choose your language.
- Download the ISO file.
Step 2: Download Rufus
- Go to official Rufus website.
- Download latest Rufus (portable or standard).
- Run Rufus (no installation needed).
Step 3: Create a Bootable Windows 11 USB (Rufus)
- Insert your USB flash drive.
- Open Rufus.
- Under Device, select your USB drive.
- Click SELECT and choose Windows 11 ISO.
- Set following options:
- Partition scheme: GPT
- Target system: UEFI (non-CSM)
- Click START.
- When prompted, you can:
- Remove TPM / Secure Boot requirements (optional)
- Remove Microsoft account requirement (optional)
- Click OK and wait until it says READY.
- Your bootable USB is now complete.
Step 4: Boot from USB Drive
- Insert USB into target PC.
- Restart PC.
- Press Boot Menu key repeatedly (usually F12, F9, ESC, or DEL).
- Select your USB drive (UEFI).
Step 5: Install Windows 11
- Choose your language, time, and keyboard.
- Click Install now.
- Enter your product key (or click I don't have a product key).
- Select Windows 11 edition.
- Accept license terms.
- Choose Custom: Install Windows only.
- Select target drive:
- Delete old partitions if doing a clean install.
- Click Next.
- Windows 11 will now install automatically.
Step 6: First-Time Setup
- PC will restart several times.
- Choose your region and keyboard.
- Connect to Wi-Fi.
- Sign in with a Microsoft account (or skip if allowed).
- Finish privacy and setup options.
🎉 Windows 11 is now installed!
METHOD 2: Install Windows 11 Using Ventoy (Advanced & Flexible)
Step 1: Download Ventoy
- Go to official Ventoy website.
- Download Ventoy for Windows.
- Extract ZIP file.
Step 2: Install Ventoy on USB
- Insert your USB drive.
- Run Ventoy2Disk.exe as Administrator.
- Select your USB drive.
- Click Install (this will erase USB).
Step 3: Copy Windows 11 ISO
- Open Ventoy USB drive.
- Copy Windows 11 ISO directly to USB.
- Note: No formatting needed. You can add multiple ISO files if you want.
Step 4: Boot and Install
- Boot from USB using Boot Menu.
- Ventoy menu will appear.
- Select Windows 11 ISO.
- Choose Normal Mode.
- Windows installer will start.
- Follow the same installation steps as Method 1.
Common Problems & Solutions
- PC doesn't see USB → Use UEFI mode in BIOS
- Windows 11 requirements error → Use Rufus option to bypass TPM
- No boot menu key? → Check your PC manufacturer's website
Final Recommendation
✅ Use Rufus if you want a simple, clean installation
✅ Use Ventoy if you often install multiple operating systems